Showing posts with label crafting project. Show all posts

Friday, November 8, 2013

Thanksgiving crafting projects

To say this is a busy time of the year for us is an understatement.  Football, birthdays, holidays, work --  it all has us SO busy. Still, I make time to decorate our home with seasonal decor.  It's fun, it's cozy and at this point, it's become tradition.   When I asked Sweetheart if he thought I should bother with it, he looked surprised and said "you always do it, it's tradition".  So there you have it.  

The day after Halloween, I had Sweetheart pull out my Thanksgiving bins so that I could start putting out the fall/Thanksgiving stuff.  I spent last weekend working on a couple of quick projects and putting out most of the decor. 

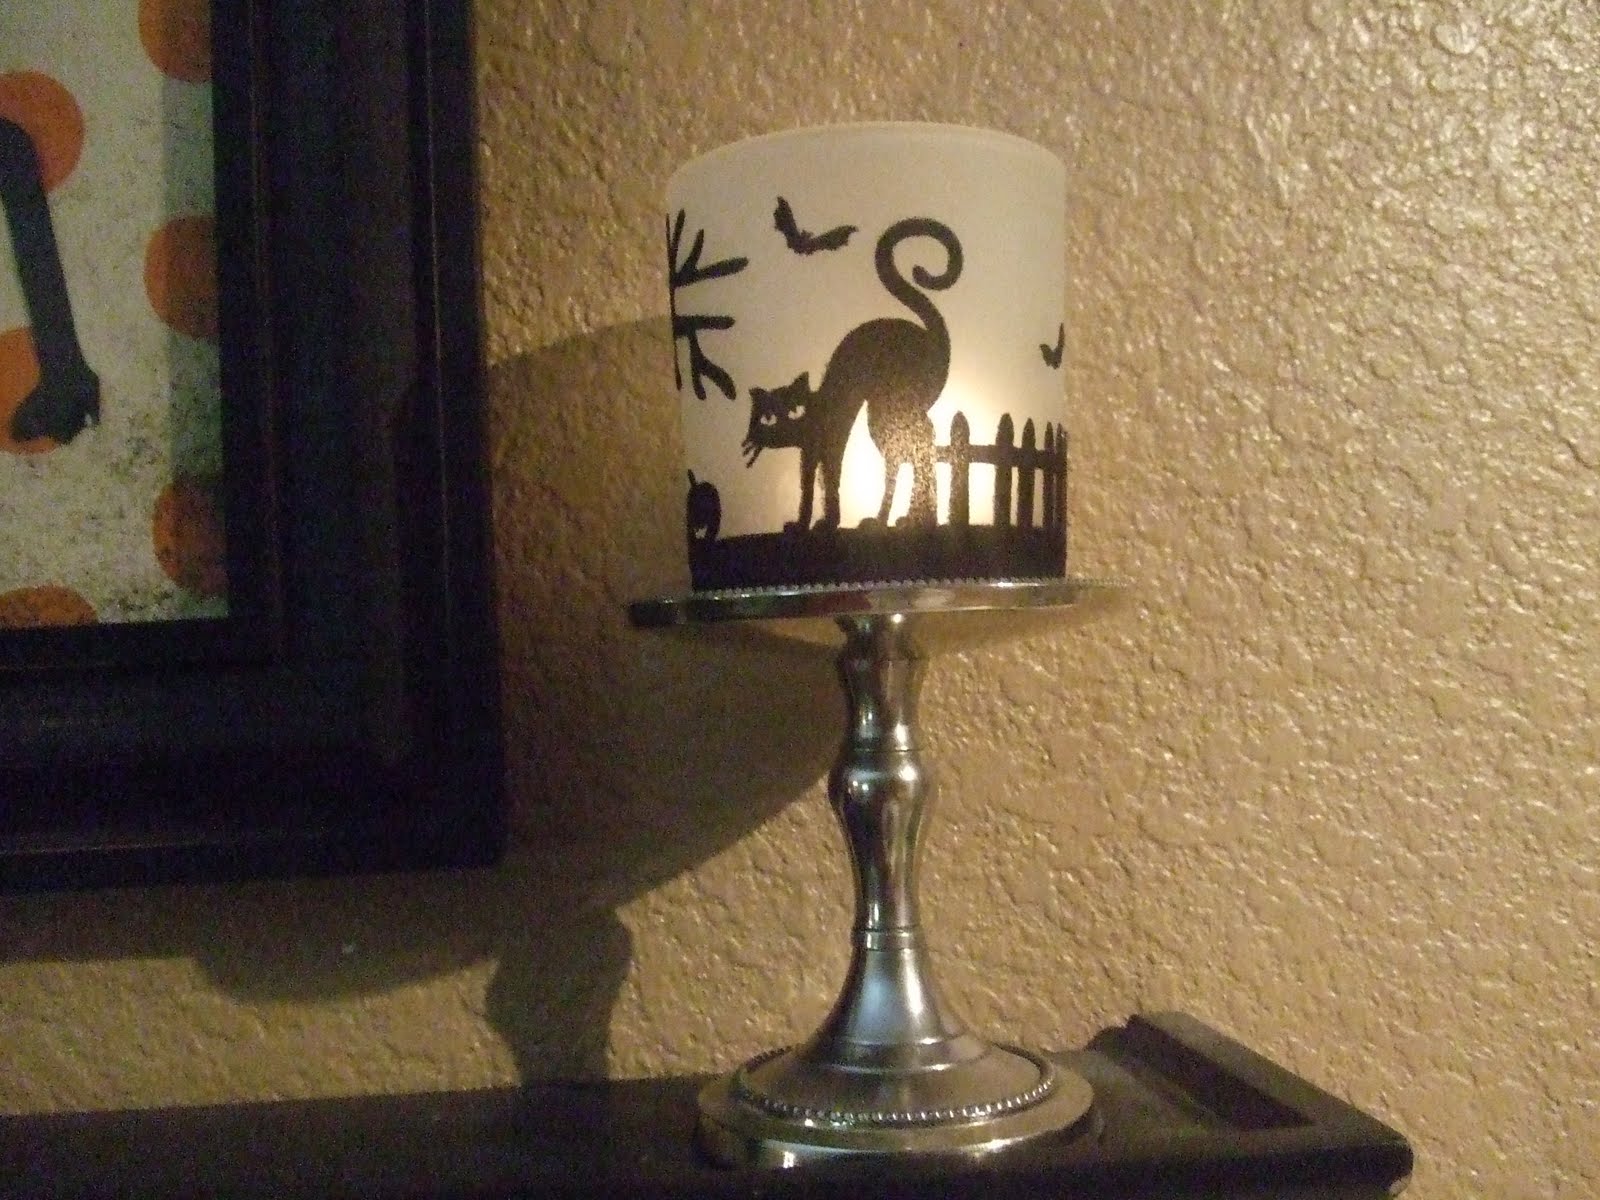
One of the projects that I seem to be addicted to these days is wrapping yarn around white candles.  I tried it with the Halloween decor here.   I found the inspiration on Pinterest here.  It was super easy to do and the candles really do look great.  And the best part about it is that I can repurpose candles; I don't have to buy different color candles every time I want a change.   

For my Thanksgiving decor, I used a mustard colored yarn for the candles on the entrance way table:


And I used a burnt orange color for the candles on my pretend mantle:


I think they look great!

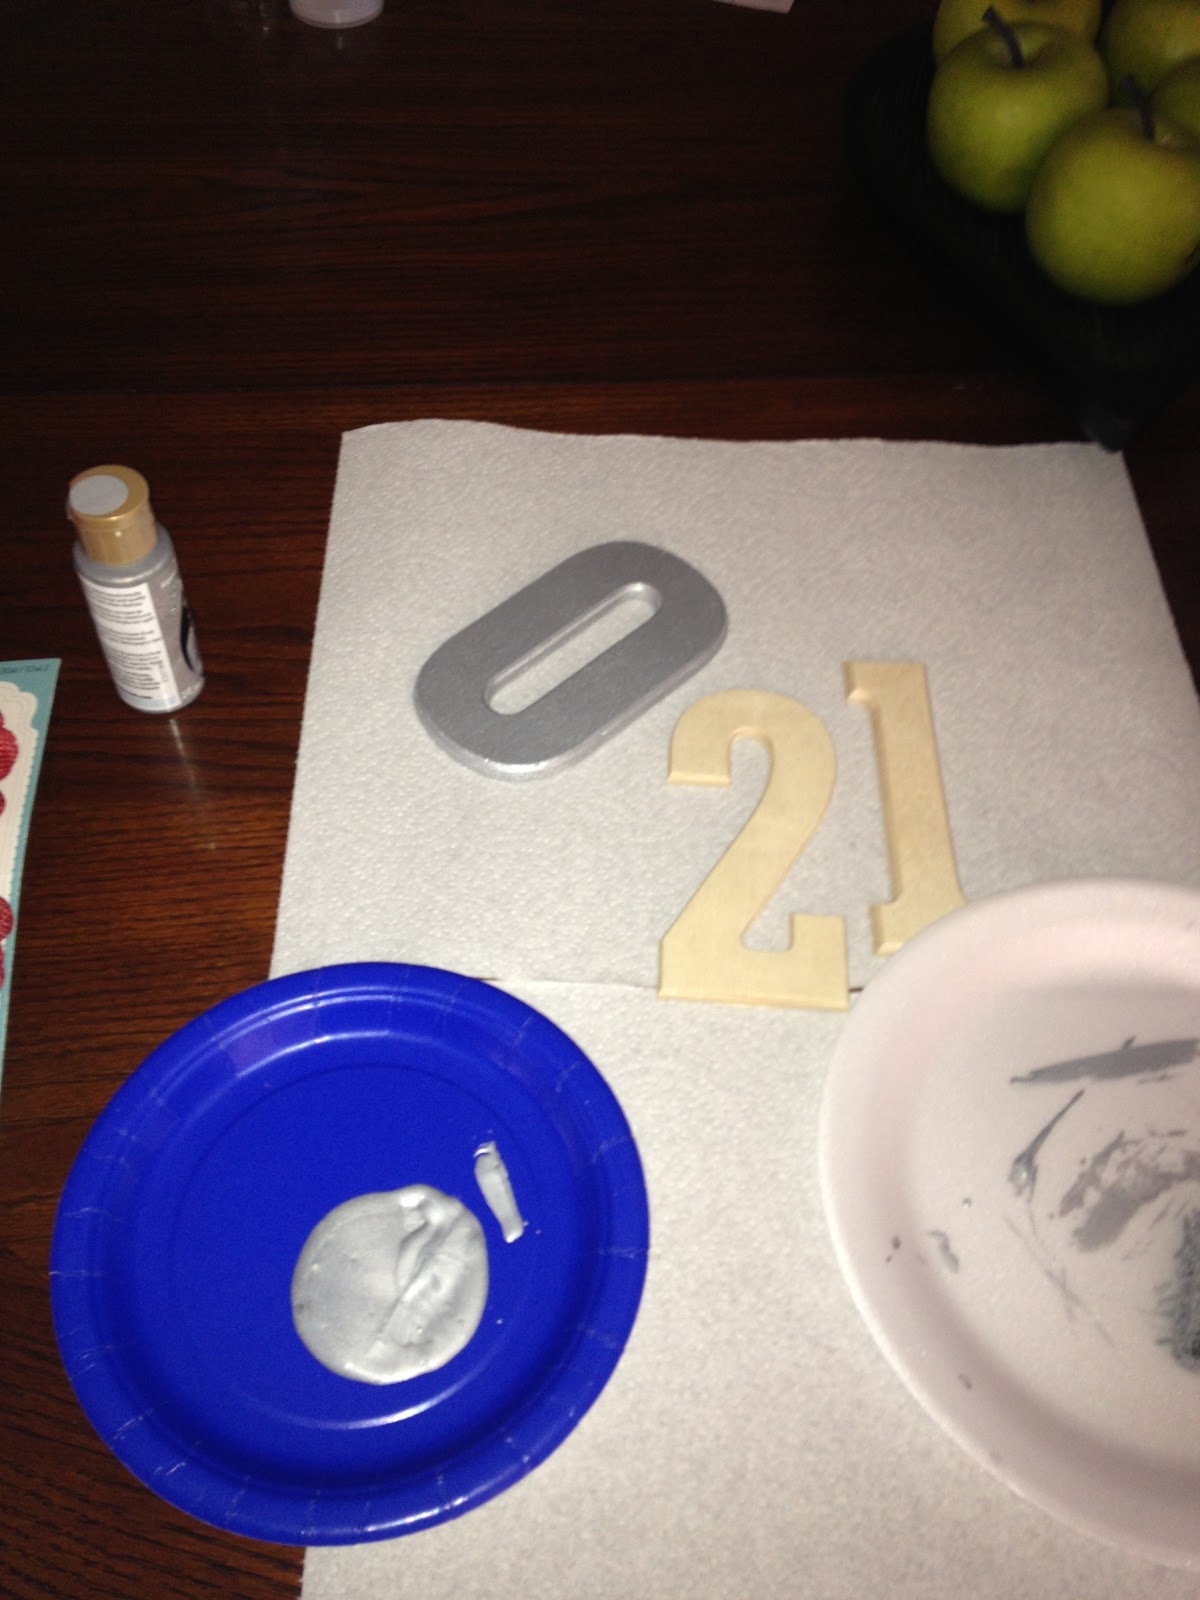
My other project was painting these acorns I bought at Target in January.  I found them on a clearance shelf.  I frequest the clearance shelves at the Target by my house and the one by where I work.  I always find the greatest things on clearance!  These acorns were regularly priced at $24.99 and I bought them for $1.99.   They sat in my craft room for nine months -- as most of my clearance items do -- until this past weekend when I was able to pull them out.  

I used a yellow mustard color (that I tend to be very much in love with at the time) and a brown color:


And this is the outcome:


I intended to post pictures of Thanksgiving tonight, however, I have another project in the works that interfered with my picture taking. We are expecting guests over the Christmas holiday so I'm painting the hallways to freshen them up and my painters tape and the ladder happened to make their way into nearly every picture I took! 

Maybe tomorrow......

Sunday, September 8, 2013

Just a little bit of fall

The thought of putting out my holiday decor puts a pep in my step.  I absolutely love putting up seasonal decor.  Even though at the end of September I would be putting up all of the Halloween decor, I couldn't wait until then.  I decided to put out just a little bit of fall.  I'm considering this my pre-fall decor.  

As I walked into Hobby Lobby to pick up a few items I see this:
The picture doesn't do it justice, it's gorg!

Inspired by the burlap in their tree, I decided to make a mini banner of burlap flags.  I picked up some chipboard letters, some mini clothes pins:


I painted the letters, glued them to the flags and hung them on jute string.  Quick and easy but I think it looks really cute:


I also pulled out one of my fall wreaths from the garage:


 And I picked up a bunch of orange colored flowers for the vase on the entrance way table:


This little bit of fall should be enough to hold me over until the Halloween decor is out at the end of the month.  That's when the good stuff comes out.  First for Halloween, then Thanksgiving and then Christmas!


Monday, March 4, 2013

Recycled Canister Project

Check out these cute jars that I converted to canisters simply by stripping off the label and adding a chalkboard label.  I would think this has been done many times over, but it was a new idea to me:

Cute, huh?


 I always have wasabi peas, chocolate chips and banana chips on hand; I buy them in the bulk/bin section at Sprouts.  I make trail-mix packs for me and Sweetheart to snack on so I always get plain almonds, walnuts and dried cranberries too.  The Wasabi peas and the Banana chips are what Sweetheart likes to snack on when he's at home so I thought I would make it easy for him to access (and I figured it would also keep him out of the pantry).  

So here's where my jars come from:

I was at Costco one day and spotted "Famous Dave's signature spicy pickle chips".  Delicous, ever try them?  Anyway, I bought two 64 oz. jars (I know, that's a lot of pickles -- but Sweetheart didn't a problem going through the jars in a very short amount of time):


When the jars were empty, I thought they would make cute canisters.  So I put them through the dishwasher and the labels came off easily.  I added a chalkboard label and just like that, I had a cute canister to fill with goodies!

After that, I thought I would like a jar for my chocolate chips but I didn't need a jar quite that big.  So, I waited for Sweetheart to finish the olives from the olives jars we bought from the Queen Creek Olive mill.  Remember these from this post?


I have to give props to Sweetheart for this one.  The labels on these guys were so hard to remove I had to soak them in water, and use 1/4 of a bottle of Goo Gone and I still couldn't get the label completely off.  Sweetheart saw me struggling with it and grabbed a blade and scraped all the remaining label off for me.  That jar was perfect for my chocolate chips:


I realize I could have embellished the jars a bit more by adding some jute string to the lid or tying a jute bow around the jar.  But, I like a more simple look and the black lids were solid in color with no writing on them at all so there wasn't a need to do anything to them.

I think they look pretty cute.  Now, we all have easy access to our snacks!


Ignore the cork board in the background.  That's a project on my "to-do" list.  I plan on putting the cork board in a chunky frame to spruce it up.  But of course, I am looking for a frugal way of doing that...

Friday, January 25, 2013

2013 Memory Jar

I worked on a quick project this weekend.  I've seen these "2013 Memory Jars" throughout blogland and Pinterest.  I have seen a number of sizes and varieties - some simple and some really elaborate.  I actually took my inspiration from the Ann Taylor facebook page (go figure).  The purpose of the memory jar is to document memories throughout the year so at the end of the year you can reflect on all the memories created.   


I stuck to a more simple aesthetic:
[click to enlarge]


 I found an empty jar in my craft room and added some embellishments: 

a chalkboard label  


and a burlap flower


Then I pulled out my Cricut machine and started cutting some tags on scrapbook paper:


I used a "tag" setting from my Christmas cartridge.  I thought that would look cuter than a just a plain piece of paper or recipe card:   


Then I wrote my first "memory" and placed it in the jar:


All done! 


My memory jar sits on the entrance way table where it is easily accessible.  Sweetheart noticed it right away and asked me about it. He loved the concept.  I told him he can contribute to the memory writing whenever he wants -- but I know he won't.  :)


I look forward to seeing the jar fill up with memories as the year moves on.  


Tuesday, January 1, 2013

Happy New Year~!

Happy 2013!


Sweetheart and I spent our NYE at home with the puppies.  We watched three movies on Netflix and then at about 10 minutes till midnight we tuned into Dick Clark's New Year's Eve and watched the ball drop.We counted down the seconds and greeted 2013 with a champagne toast and a kiss! 


This morning I woke up and fixed breakfast for us.  I made a spinach, mushroom, cheese and green chili frittata.  I'm getting pretty good at making them.  


Afterwards, I got busy on two projects.  The first was an easy one.  I printed some subway art and decorated my shelf:


I was excited about working on the next project.  Sweetheart bought me a "magnet board" from Hallmark for my birthday.   They sell seasonal magnets and decorations for the board in their stores.  When I first saw it I wasn't too sure that I would like it.  It's a big, black piece of metal.  Once, I understood how it worked, I was excited about placement and then my mind raced with ideas for future holidays.  The plan is to change it out for every holiday/month of the year.  And although I can go to Hallmark to purchase the magnets for each season, I thought it might be fun to DIY.  

For January, I made a trip to Hobby Lobby and bought some numbers, paint and a couple of embellishments.  This morning, I got busy painting the numbers:


This was my end result:

(click on picture to enlarge)


The numbers have gem embellishments that are hard to see in the picture.  I put magnets on the letters, cloth flowers and on the gem dots.  I also filled the frame above it with some subway art.  I then grabbed three pictures and positioned them on the board using the gem dots. 


The board sits in the entrance way (ignore the alarm pad) so it was very difficult to get a good picture of it.  It sits up high and looks great as you enter the house. 
Not too bad for an amateur!


I went to Target yesterday to pick up a few things and naturally quickly scanned the clearance shelves.  I found these tealight holders on clearance for $2.48.  They are really cute.  The silver tealight holder sits inside of the glass cylinder -- reminds me of a mini hurricane.  


Sweetheart and I are looking forward to another great year!


Saturday, September 24, 2011

project 1 - seasonal frame

I'm trying to pace myself. I generally have a project on top of a project buried underneath a project (which my Sweetheart just pointed out). I have one week to get my decorations out so I keep telling myself to pace myself....I do not need to get it all done at once. Why is that so easy to say but so hard to do???


Here's project number one. Actually, it's project number two. Project number one was a crash and burn so I moved on. This is the picture frame that I switch out from season to season (Easter and valentines day here).


I think it looks really cool:


I bought this set of four votive candle holders at Walmart. The silhouette is black velvet.


I love the orange polka dote paper:


One to project number three.


Friday, January 28, 2011

My Recipe Book Project

I was going through my BHG magazine recently when I noticed the cutest project. A decorater had covered plastic three ring binders with fabric to give the book a more chic and uniform look. I loved it!

I keep recipes that I print from online websites in a three ring binder in the kitchen. The perfect book to try this new project on. I forgot to take a before picture because I was so excited to get it started.

I used some burlap and some spray adhesive for my project. It was simple: I sprayed my book and wrapped the burlap tightly around the edges.


It was quick and easy! I added a ribbon and tag to finish it up. Now, I just have to add my recipes:

It looks so much better now!


On to the next project!